
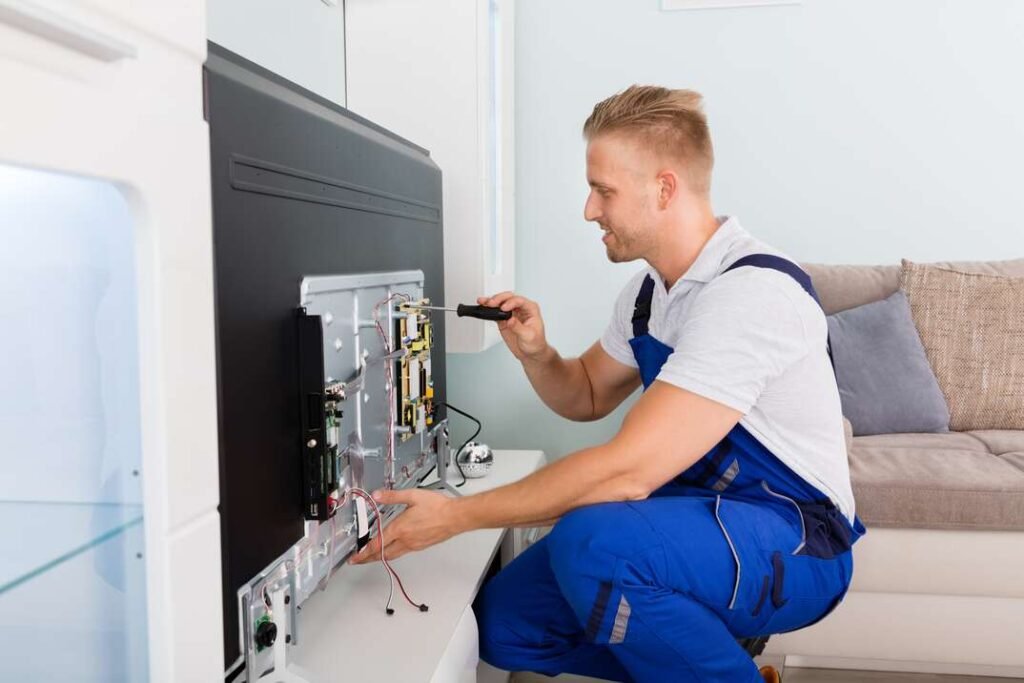
LED TVs are everywhere these days. They give you bright, clear pictures that make watching your favorite shows a joy. But sometimes, things go wrong. One key part of an LED TV is the panel—the screen that shows the images. If the panel breaks, you might see weird lines, dark spots, or nothing at all. Fixing it might sound tough, but you can repair an LED TV panel yourself with some basic know-how and tools. This blog post will walk you through the process step by step. By the end, you’ll know how to repair LED TV panel and save some money instead of buying a new TV.
What is an LED TV Panel?
Let’s start with the basics. The LED TV panel is the screen you look at when you watch TV. It’s made up of tiny lights called LEDs, which stand for Light Emitting Diodes. These lights work together to create the pictures you see. The panel is a big part of what makes your TV work. If it gets damaged, your viewing experience suffers. Common signs of a broken panel include black spots, flickering lines, or a blank screen. Knowing what the panel does helps you understand how to repair LED TV panel when it stops working right.
Why Do LED TV Panels Need Repair?
LED TV panels can run into problems for a few reasons. Maybe the TV got bumped or dropped. Or perhaps there’s an issue with the wires inside. Sometimes, the panel just wears out over time. Here are some common issues you might notice:
- Dead Pixels: Tiny dots on the screen that stay black or show the wrong color.
- Lines Across the Screen: Horizontal or vertical lines that mess up the picture.
- Dark Patches: Areas that look shadowy or dim compared to the rest.
- Blank Screen: The TV powers on, but there’s no image at all.
These problems can come from loose connections, broken parts, or even dust buildup. Figuring out what’s wrong is the first step to learning how to repair LED TV panel.
Must Read: how to repair LED TV
Tools You’ll Need to Repair an LED TV Panel
Before you begin, gather some tools. You don’t need anything too fancy—just some basics to get the job done. Here’s what you’ll need:
- Screwdriver: A small one to take off the TV’s back cover.
- Multimeter: To test electrical connections and find issues.
- Soldering Iron: For fixing loose or broken solder joints.
- Replacement Parts: Like a new capacitor or even a new panel, depending on the damage.
- Soft Cloth: To clean the panel and other parts without scratching them.
- Tweezers: Handy for handling small pieces inside the TV.
Having these tools ready makes it easier to repair an LED TV panel. If you’re missing something, you can find most of these at a hardware store or online.
How to Repair LED TV Panel: Step-by-Step Guide
Now, let’s get to the good stuff—fixing the panel! Follow these steps carefully to repair your LED TV panel at home. Take your time, and don’t rush.
Step 1: Turn Off and Unplug the TV
Safety comes first. Before you touch anything, switch off the TV and unplug it from the wall. This keeps you safe from electric shocks while you work.
Step 2: Remove the Back Cover
Grab your screwdriver and take out the screws on the back of the TV. Keep them in a safe spot so you don’t lose them. Gently lift off the back cover. Be careful—some parts might still be attached#-called-out”>attached to it.
Step 3: Find the LED Panel
With the cover off, look inside the TV. The LED panel is the big, flat piece that makes up the screen. It’s connected to other parts with wires and ribbons. Take a moment to see how everything fits together.
Step 4: Check the Connections
A lot of panel problems come from loose wires. Look at the cables and connectors linked to the panel. If anything looks out of place, gently push it back in. This simple fix might be all you need to repair an LED TV panel.
Step 5: Look for Damage
Examine the panel closely. Do you see cracks, burn marks, or other signs of wear? If the damage is small, you might be able to fix it. Big cracks or major burns mean you’ll likely need a new panel.
Step 6: Test with a Multimeter
If the panel looks okay but still doesn’t work, use a multimeter. Set it to check continuity or voltage, then touch the probes to the panel’s connectors. If the readings are off, there could be an electrical fault.
Step 7: Fix Solder Joints
Spot any loose or cracked solder points? Heat up your soldering iron and carefully add a bit of solder to reconnect them. Don’t use too much heat—you don’t want to damage nearby parts.
Step 8: Replace Faulty Parts
If a small component like a capacitor or resistor is bad, swap it out. You’ll need to match the part to your TV model. In some cases, replacing the whole panel might be the only fix.
Step 9: Clean Everything Up
Dust can cause trouble too. Use your soft cloth to wipe down the panel and other areas. Be gentle to avoid scratches or new damage.
Step 10: Put It Back Together
Once you’ve fixed the issue, reattach the back cover and tighten the screws. Don’t overtighten—just make it snug.
Step 11: Test Your Work
Plug the TV in and turn it on. Does the picture look normal? If yes, you’ve nailed how to repair LED TV panel! If not, you might need to double-check your steps or get help.
Extra Tips to Keep Your LED TV Panel Working
Fixing your TV is great, but preventing problems is even better. Here are some easy ways to protect your LED TV panel:
- Move It Carefully: Don’t bump or drop the TV when you shift it around.
- Keep It Cool: Don’t let it sit in hot sunlight for too long.
- Use a Surge Protector: This stops power spikes from hurting the panel.
- Clean Regularly: Wipe off dust with a soft cloth now and then.
These habits can cut down on how often you need to repair an LED TV panel.
Must Visit: ledtvrepair.pk
When to Call a Pro
Not every fix is a DIY job. If the damage looks tricky—like a smashed panel or weird electrical readings—it’s smart to call a technician. They’ve got the skills and gear to handle tough repairs safely. Knowing when to stop can save you time and frustration.
Understanding Your LED TV Panel a Bit More
Want to know why these repairs work? Let’s break it down simply. The LED panel relies on a mix of lights and circuits. The LEDs light up the screen, while tiny circuits control what you see. If a wire loosens or a circuit fails, the picture goes haywire. Fixing connections or swapping parts gets everything back in sync. It’s not magic—just a little patience and the right steps.
Common Questions About LED TV Panel Repairs
People often ask a few things about fixing their TVs. Here are quick answers:
- Can I fix a cracked panel? Not really. Small scratches might be okay, but cracks usually mean a replacement.
- How much does a new panel cost? It depends on your TV size and brand—anywhere from $50 to a few hundred bucks.
- Is it worth repairing? If the TV’s still decent and the fix is cheap, yes. Otherwise, a new TV might make more sense.
These answers can guide you as you figure out how to repair LED TV panel.
What If the Repair Doesn’t Work?
Sometimes, things don’t go as planned. If your TV still acts up after you try to repair the LED TV panel, don’t panic. Go back and check your connections again. Test the power supply with your multimeter. If it’s still a mess, the issue might be deeper—like a problem with the main board. At that point, a pro’s your best bet.
Why Learn How to Repair LED TV Panel?
Fixing your own TV has perks. You save cash on repair bills or a new set. Plus, you get the satisfaction of doing it yourself. It’s a handy skill in a world full of screens. And with this guide, you’ve got a clear path to follow.
Final Thoughts
Learning how to repair LED TV panel isn’t as hard as it looks. With some basic tools, a steady hand, and these steps, you can tackle common problems like lines, spots, or a dead screen. Start by checking connections, move to testing parts, and clean things up as you go. If it gets too tricky, pros are there to help. Take care of your TV, and it’ll keep your shows looking sharp for years.
Got a broken LED TV panel? Grab your screwdriver and give it a shot. You might surprise yourself with what you can fix!